
This week’s Guest Blogger is Renee Howell from Kyabram P-12 College
I have been teaching a year 9 elective class called ‘F1 in Schools’ for the past three years. Most schools run the ‘F1 in Schools’ program as an extracurricular activity but the program has so many benefits to the students that our Principal gives us class time to run the program. I have run this program with high achieving students, integration students and disengaged students. The biggest triumph I have experienced in this program was when a student in Year 9 (who never did homework, never followed anything through to its conclusion and had never been away on a school camp before) stayed up until 4am the night before the competition to complete the team’s portfolio. This team went on to win Best Portfolio in the state. This remains my best teaching moment despite having taken a team through to the National Finals and other various triumphs. Every student that goes through the F1 program learns something different. For some it is how to speak to someone in a professional way, for others it is how to design the fastest F1 car in the state. Other students learn to stand by their work and how to talk about their strengths.
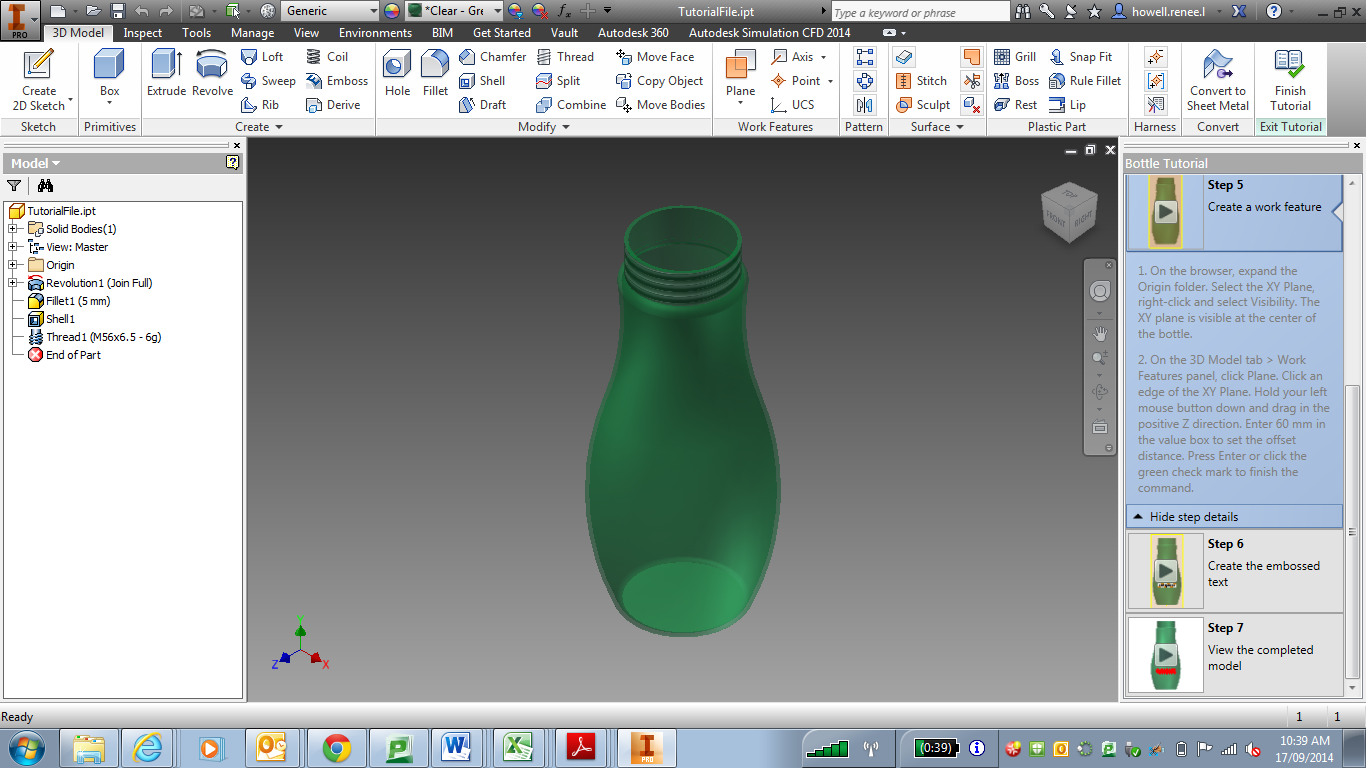
When I was first asked to teach this class our school was using a 3D modelling program called CATIA. I was handed a huge folder which was to become my “bible”. I am no computer whiz, so when I first looked at the program I experienced quite a few moments of “how on earth am I going to learn all this”. It took me and the students I was teaching almost 6 months to master the controls, with many frustrations and hold ups. The great thing about this was my F1 students and I became learning partners. We explored the program together and the design process together, they became the experts. At the end of last year our school swapped over to Autodesk Inventor. My initial thought was “here we go again, another 6 months hard work to learn a new program…”. However, I found Autodesk Inventor to be much more user friendly. My new group of F1 students were able to begin designing cars and objects within an hour. The in-program tutorial (create a water bottle) walks you through all the basic commands, there’s even little videos if you can’t follow the written instructions.
Even better is the series of Youtube videos that show you everything you could possibly need to know about designing an F1 car, from design concept right through to how to produce a 3D image of the car. Here’s the link:
https://www.youtube.com/playlist?list=PLAQfn-QKbiAmyHdQxxc7qbezoSQJukD-s
These videos are in little 5 minute tutorials. I was so excited to find that my students (and myself) had expert help that we could watch over and over if we needed to. Together my students and I learned to use Autodesk Inventor quickly and easily! I have the training series saved to my favourites and regularly go back to it.
Now that we have the basics down (and a shiny new 3D printer thanks to Quantum Victoria) I am looking into ways to integrate this technology into my other classes, so far we have been using the 123D Creature App on Ipad to design some aliens to fit into an ecosystem in Year 7 Science. I’ll let you know how it goes.
For more information on Autodesk, see https://diglearning.global2.vic.edu.au/files/2013/12/DTF_flyer_v2-1p8kblg.pdf
